Read the answer first, then use the checklist and questions below to make your next sourcing or specification decision easier.
Quick answer: A hotel pendant specification should connect the space's visual goal to measurable requirements: mounting height, dimensions, light source, CCT, CRI, dimming, driver, materials, maintenance access, local compliance, packaging and installation sequence. Approve a working sample and a written inspection checklist before releasing the production order.
Introduction
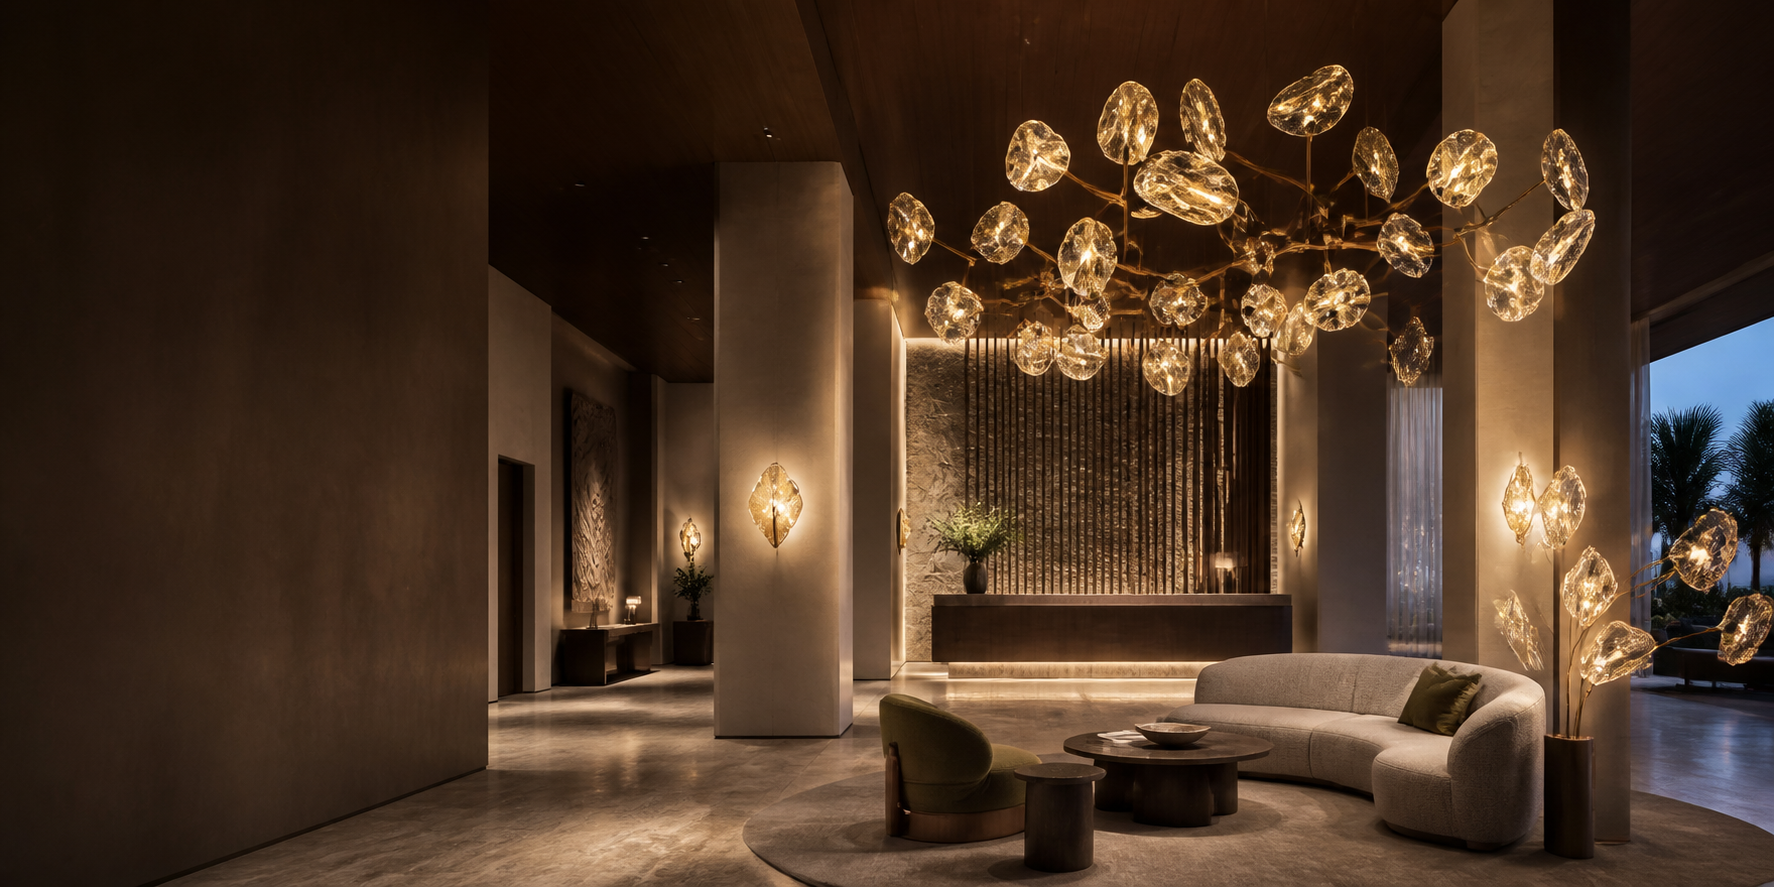
Pendant lighting is often the first fixture a guest notices in a hotel lobby, reception, restaurant or lounge. It can create a memorable focal point, but it also sits at the intersection of interior design, electrical coordination, operations and procurement. A pendant that looks perfect in a catalogue can still create problems if the canopy does not fit the junction box, the driver is incompatible with the dimming system, the suspension is too short for the ceiling, or fragile shades arrive damaged.
This guide helps designers, contractors, hotel purchasing teams and lighting brands turn an aesthetic reference into a buildable specification. ODSEN develops and manufactures decorative indoor lighting in Zhongshan, China, including pendant lights and chandeliers for hospitality, commercial and residential spaces. Our 5,000 m² production base and 50+ person team support OEM and ODM work; final product data is confirmed for each model, finish and destination market.
1. Define the job of the pendant in each space
Before discussing wattage, define what the fixture must do. A hotel typically needs several layers of light:
- Arrival and identity: a lobby pendant or chandelier acts as a visual signature and should be coordinated with the sightline from the entrance.
- Task and circulation: reception, host stands and corridors need comfortable visibility and controlled glare.
- Food and material presentation: restaurant pendants should render food, tableware and finishes naturally without distracting reflections.
- Guest comfort: guestrooms and bedside areas need low-glare light, convenient control and service access.
- Wayfinding and ambience: lounges and bars may use small pendants in a repeated rhythm to define zones.
Write the job in one sentence for each area. For example: “Provide warm, dimmable focal light above the lobby seating while keeping the view to reception clear.” This sentence gives the manufacturer a decision filter when size, optics or suspension details are discussed.
2. Build the specification from the room outward
Dimensions and proportion
Record ceiling height, furniture height, viewing distance, clearances, canopy size and the required cable or rod adjustment range. For a repeated installation, show the spacing and hanging heights on a reflected ceiling plan or elevation. For a large cluster, define the number of elements, drop-length distribution and the position of the ceiling plate.
Do not approve a scale from a single product photograph. Request a dimensioned drawing and, when the fixture is prominent or unusually large, a mock-up or a 3D rendering placed in the actual room. Check sightlines from standing and seated positions. A beautiful pendant can be uncomfortable if a guest constantly sees a bright LED source.
Light source and electrical data
Specify whether the product uses replaceable lamps or an integrated LED module. Record rated voltage and frequency, input wattage, driver make and model, power factor where required, control protocol and access for replacement. If a project uses DALI, 0–10 V, phase-cut or another control method, make the compatibility requirement explicit; “dimmable” by itself is incomplete.
Ask where the driver is installed. A remote driver may improve thermal conditions or maintenance access but requires a coordinated location and cable length. An integral driver can simplify installation but needs enough service clearance in the canopy or body.
3. Select CCT and CRI with the application in mind
Correlated colour temperature (CCT) describes the apparent warmth or coolness of white light; it is expressed in kelvins. A lower CCT usually appears warmer, while a higher CCT appears cooler. CCT is not a quality score. Choose it to support materials, brand mood and the other luminaires in the space.
Colour rendering index (CRI) describes one aspect of how faithfully a light source reveals colour. The U.S. Department of Energy notes that CRI 80 is a general baseline for interior lighting and that 90 or higher indicates excellent colour fidelity, while also noting application and cost trade-offs. Use those values as a discussion starting point, not as a substitute for the consultant's lighting criteria.
The following starting ranges are common design conversations, not universal rules:
| Hotel area | Starting CCT conversation | CRI conversation | Questions to confirm |
|---|---|---|---|
| Lobby and lounge | 2700–3000 K warm ambience | 80+; 90+ when materials or artwork matter | How does it match downlights and daylight? |
| Restaurant and bar | 2700–3000 K, often dimmed | 90+ may be preferred for food and finishes | Will dimming remain stable at low levels? |
| Guestroom and bedside | 2700–3000 K, low glare | 80+ or project-specific | Can the guest replace or service the source? |
| Retail or display zone | 3000–3500 K depending on merchandise | Project-specific, often higher | Is colour consistency required between batches? |
Ask for the actual LED or lamp data rather than a marketing label. For a decorative glass or stone shade, request a lit sample because the material changes the perceived colour and brightness. Where colour consistency matters, align the binning and control-sample process with the project team.
4. Control glare, sparkle and visual comfort
Decorative fixtures often create contrast and sparkle by design. The goal is not to remove all brightness; it is to put brightness where the designer intends it. During the sample review, look for:
- Direct view of LED points from normal guest positions.
- Reflections on polished tables, mirrors, glazing or glossy stone.
- Bright hotspots through glass, crystal or perforated metal.
- Shadows cast onto guest faces or food.
- Flicker or unstable dimming at the control system's operating range.
If the product uses a diffuser, ask how it is retained and replaced. If it uses decorative lamps, confirm lamp shape, base, maximum wattage and availability in the destination market. A small adjustment to diffuser depth or lamp position can change comfort without changing the overall design language.
5. Choose materials and finishes for service life
Glass and crystal
Define colour, transparency, edge treatment, thickness range and acceptable visual variation. For hand-finished or textured glass, agree a reference sample and a tolerance statement. Ask how each piece is wrapped, separated and labelled; mixed shapes in one carton can cause installation errors.
Metal
State the base material, finish reference, gloss level and whether the finish is painted, plated, brushed or another process. Ask how touch points and concealed surfaces are protected during assembly and packing. For a project with many fixtures, request a finish-control sample and a batch-matching plan.
Fabric, stone and natural materials
These materials need a variation policy. A supplier should explain how colour, grain or veining may vary and which differences are acceptable. Document the approved range so that the site team does not reject a natural characteristic that was agreed at the start.
Mixed-material construction
Ask how dissimilar materials are joined, how thermal movement is managed and how the fixture can be serviced. This is especially important for large chandeliers with multiple arms, glass parts or long suspension elements.
6. Make installation preparation part of the product
Installation is easier when the manufacturer designs the documentation and packaging around the site team. Request:
- Dimensioned installation drawing with ceiling plate, anchor points and cable or rod lengths.
- Fixture weight and recommended support information for the project engineer.
- Assembly sequence, orientation marks and a parts list.
- Wiring diagram, driver location and control compatibility.
- Tools, fasteners and site-supplied items clearly separated.
- Pre-cut or adjustable suspension options, when appropriate.
- Spare glass, lamps, fasteners or other agreed replacement parts.
- A carton label that links each package to a room, zone or fixture number.
For a cluster pendant, number the drops on both the drawing and the physical cables. For a large hotel project, consider a pre-assembly trial with the installer before the shipment is released. Ten minutes spent checking a sample assembly can prevent hours of work at height.
7. Use factory testing and shipment inspection as design tools
Testing should be linked to the product risk. A decorative pendant may require electrical safety checks, functional burn-in, dimensional verification, finish inspection and packaging review. The exact tests and acceptance criteria depend on the product and destination.
At ODSEN, the project conversation typically moves through incoming-material checks, in-process assembly checks and an outgoing review. During a buyer or third-party inspection, useful checks include:
- Correct model, finish, quantity and revision.
- Switch-on test and dimming behaviour with the agreed driver or control.
- Cable, canopy, fastener and suspension details.
- Glass, metal or stone appearance against the approved sample.
- Labels, manuals, certificates and carton markings.
- Inner protection, carton condition and random opening of packed units.
Record a test date, order number and inspector. Photos should show enough context to identify the item. A clean-looking image is not a substitute for a traceable record.
8. Plan for compliance without guessing
The correct compliance route depends on the market, product construction and importer obligations. IEC 60598-1:2024 specifies general safety requirements for luminaires up to 1,000 V. In North America, routes may involve standards such as UL 1598 or UL 8750; other markets may require different marks or national deviations. UL Solutions recommends aligning testing and certification with the product and market rather than using a generic certificate.
Ask the supplier to identify the exact model covered by each report and to provide the revision and test date. Include the project consultant, importer or local authority in the review. The manufacturer can prepare documents and make design changes, but the party placing the product on the market remains responsible for confirming the applicable obligations.
9. Approve with a stage-gate checklist
Use a simple stage gate so that the team knows what is approved:
Gate 1 — Design intent: room, dimensions, finish, light effect and reference images.
Gate 2 — Technical feasibility: drawing, weight, electrical architecture, dimming and suspension.
Gate 3 — Working sample: lit sample, material review, glare check and installation trial.
Gate 4 — Production release: signed revision, bill of materials, packaging and inspection plan.
Gate 5 — Shipment approval: quantity, appearance, function, documents and carton condition.
Gate 6 — Site feedback: installation questions, spare parts and lessons for the next phase.
This method keeps creative decisions and production decisions connected without asking a single meeting to solve everything at once.
10. Common specification failures and how to prevent them
A fixture is beautiful but too bright from the normal viewing angle
The catalogue image was taken from an elevated or carefully controlled angle. On site, guests see the LED point directly. Prevent this with a lit sample at the expected eye height, a glare discussion and a clear decision about diffuser, lamp position or shielding.
The pendant arrives with a correct body but the wrong control behaviour
“Dimmable” was treated as a complete specification. Prevent this by naming the control protocol, driver model, dimming range and test condition. Run a switch-on and dimming check using the same control family planned for the project.
Repeated pendants do not look like one family
The finish or glass variation was not defined. Prevent this with an approved control sample, a tolerance statement and a batch-matching check. For natural or hand-finished materials, agree which variation is intentional and which is a defect.
Installation takes longer than the programme allows
Small parts are mixed, cable drops are unnumbered or the canopy does not match the ceiling plan. Prevent this with a numbered parts list, orientation marks, a dimensioned drawing and a pre-installation trial. Label cartons by room or zone when the project has multiple phases.
Documents do not match the shipped configuration
The driver, lamp or finish changed after testing. Prevent this with revision control and a document check at shipment. If a component must be substituted, evaluate whether the compliance file or sample approval needs to be updated before release.
11. A one-page specification worksheet
For each pendant, record: fixture ID; room and quantity; overall dimensions; suspension length; ceiling plate; weight; material and finish; lamp or LED; wattage; voltage/frequency; CCT and CRI target; driver and dimming; maintenance access; destination documents; carton and spare-parts requirements; approved sample revision; inspection release owner. This compact worksheet gives the designer, factory, logistics team and installer the same reference.
FAQ
What CCT is best for a hotel pendant light?
There is no single best CCT. Many hospitality projects start a conversation around 2700–3000 K for warm ambience, then coordinate it with downlights, daylight and brand guidelines. Confirm the final value with a lit sample and the project's lighting consultant.
Is CRI 90 necessary for every hotel pendant?
No. CRI is one performance measure and the required level depends on the space, materials and brief. CRI 80 is a common general baseline; higher fidelity may be valuable for food, artwork, retail or carefully specified finishes. Confirm the target and the measurement method in the project documents.
How do I prevent pendant lights from arriving broken?
Start with a product-specific packaging design: separated inner protection, part labels, moisture and carton controls where relevant, plus a documented packing inspection. Approve a packed sample or perform pre-shipment inspection before the full order is released.
Can the same pendant be used in the lobby and guestrooms?
Sometimes, but not automatically. The two spaces may have different glare, control, maintenance, scale and mounting requirements. Use a shared design family with space-specific optical and installation details when needed.
What should I send a factory before requesting a quote?
Send room photos or drawings, ceiling height, quantities, finish references, dimensions, voltage, CCT/CRI target, dimming system, destination and required date. Explain the visual job of the fixture and identify any certification, packaging or spare-part requirements.
Conclusion
A reliable hotel pendant specification is a chain: room intent, proportion, light quality, materials, controls, installation, testing and documentation. When those links are written down and checked through a working sample, procurement teams can compare suppliers on evidence instead of appearance alone.
CTA
Have a hotel lobby, restaurant or guestroom lighting schedule to review? Send the fixture list and your destination requirements to ODSEN. We can help turn references into a drawing, sample and inspection path for pendant and chandelier projects.
Send your project requirements · Ask for the ODSEN catalog
Reference notes
- U.S. Department of Energy, LED Basics (CCT and CRI overview).
- IEC, IEC 60598-1:2024, Luminaires — Part 1: General Requirements and Tests.
- UL Solutions, Indoor and Decorative Lighting and Lighting Safety Testing and Certification.